Now that the east was out of the question, the government decided, in 1868, to keep out of the giants’ way and develop the west instead. Land was reclaimed from Bonham Strand to Sai Wan, and the new formation was called Bonham Strand West. Owners of the affected coastal lots had to bear the cost of reclamation in exchange for the use rights of the reclaimed land. Throughout the 1870s the reclaimed section of Sai Wan stretched to Belcher's Street. The new waterfront was called Praya West, now Des Voeux Road West.
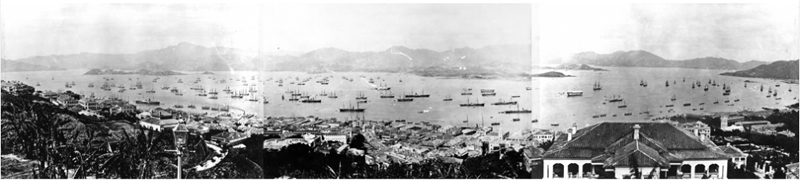
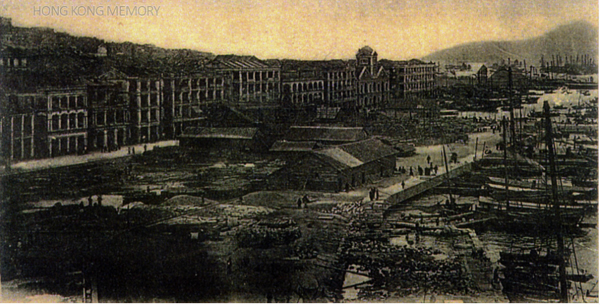
The Central District reclamation was held over as a result of objections from the Central landowners and the military. It was thirty years later that Chater, one of the major landowners of Central, got it off the ground. Seeing that the city’s population exploded and the seabed of the western coast became shallower due to heavy sedimentation, Chater proposed in 1887 to reclaim land eastward, from the Gas Company in Sai Wan to the Murray Pier in Central. The formation would be 10,200 foots in length and 250 foots in width, with a total area of 58.7 acres. It was the largest ever reclamation scheme at that time.
The scheme, which did not cover the Admiralty military zone, was largely carried out at the expenditure of the related private landowners. The new waterfront promenade was turned into a major road for public transport and cargo working. It was today’s Connaught Road.
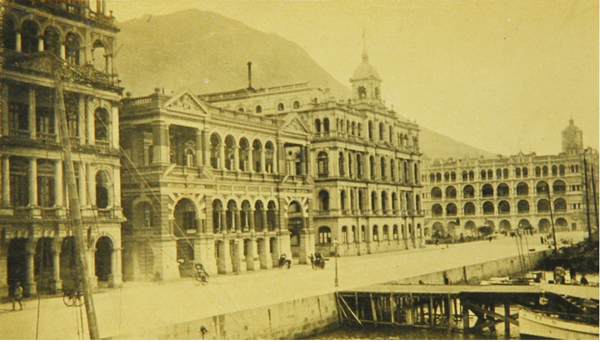
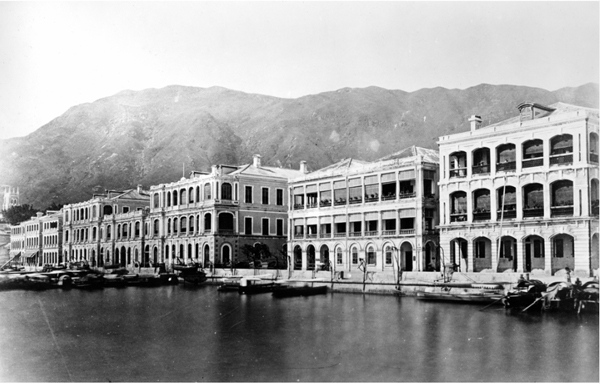
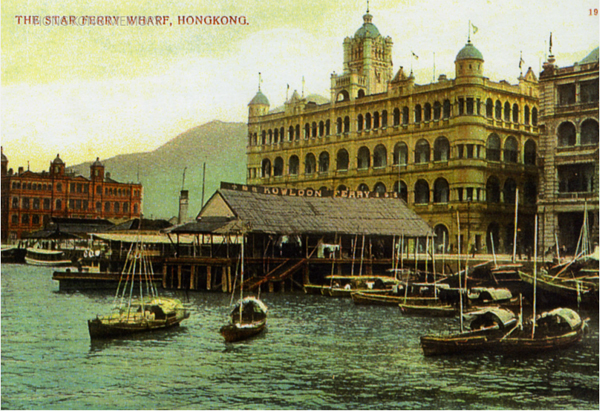
The project was started in 1889 and completed in 1903. The entire formation encompassed the area between Des Voeux Road Central and Connaught Road Central, from Belcher's Street (in Sai Wan) to Queensway. Soon afterwards the reclaimed land was established with a variety of structures, many of them classic colonial-style architecture of the Central District: such as Queen's Building, Prince's Building, General Post Office, Hong Kong Club, High Court, Statue Square and Blake Pier.